Dashboard framework
Usage
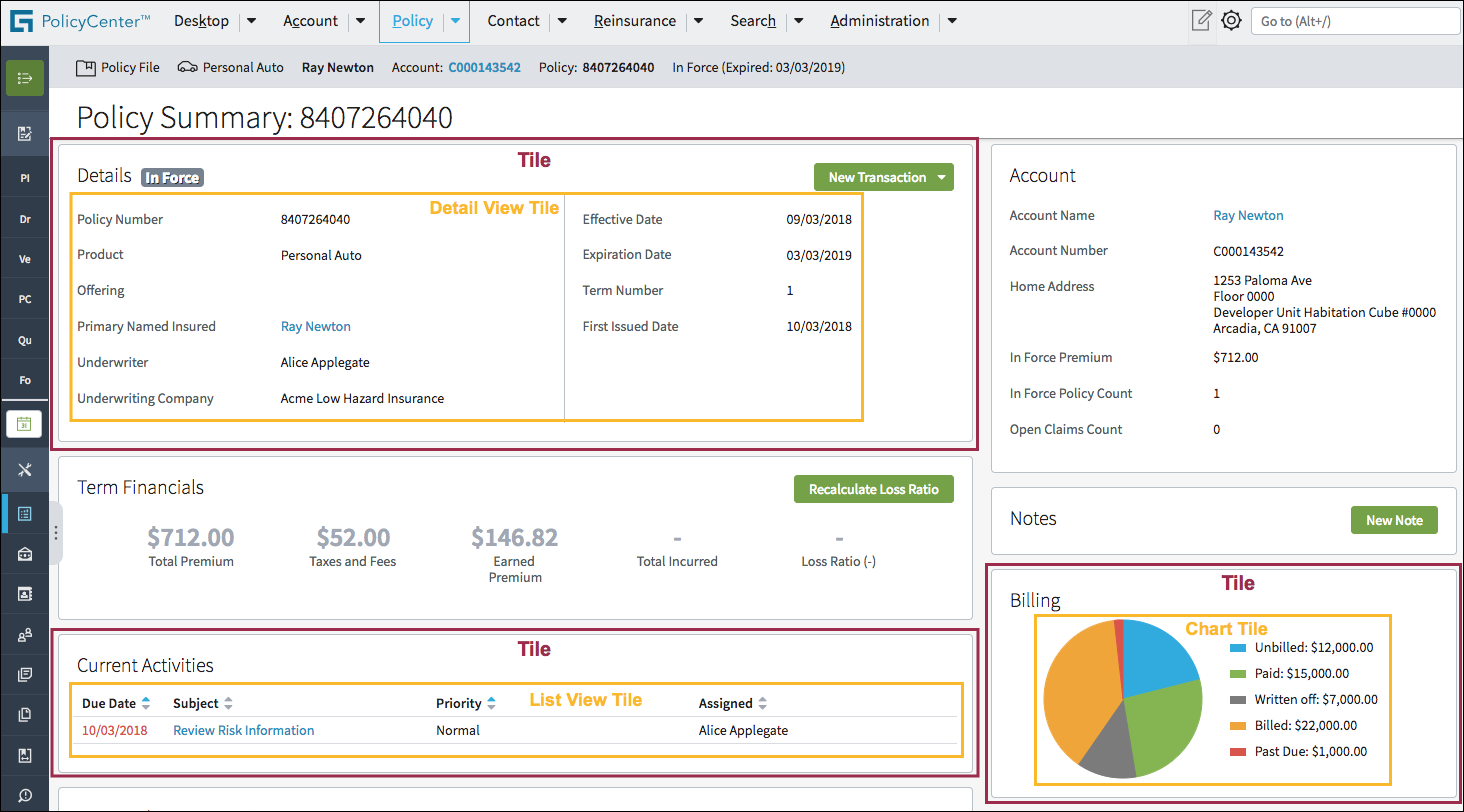
The dashboard framework includes widgets that appear in other parts of studio. However within dashboards, these widgets are called tiles. For example, in a dashboard, a detail view is called a detail view tile. These tiles are used to build pages such as:
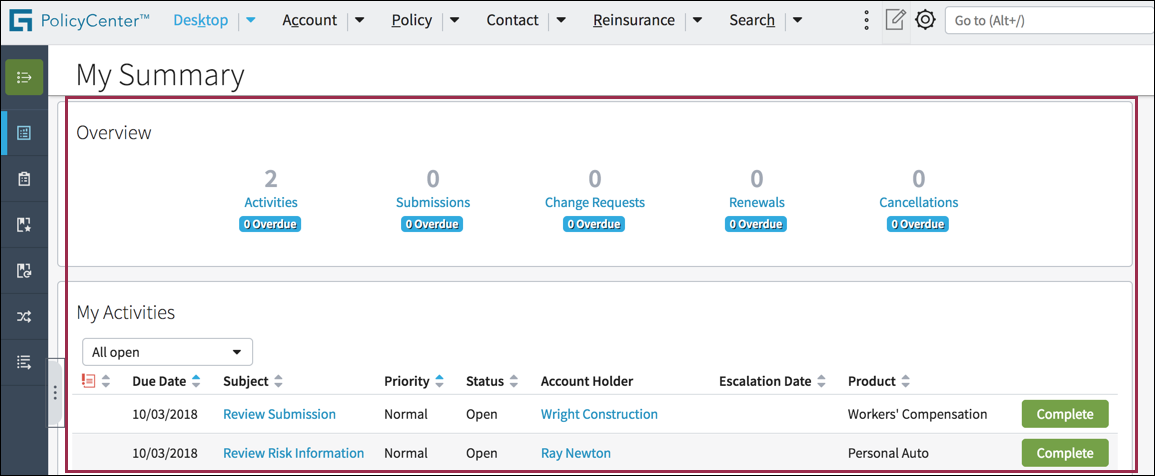
- My Summary
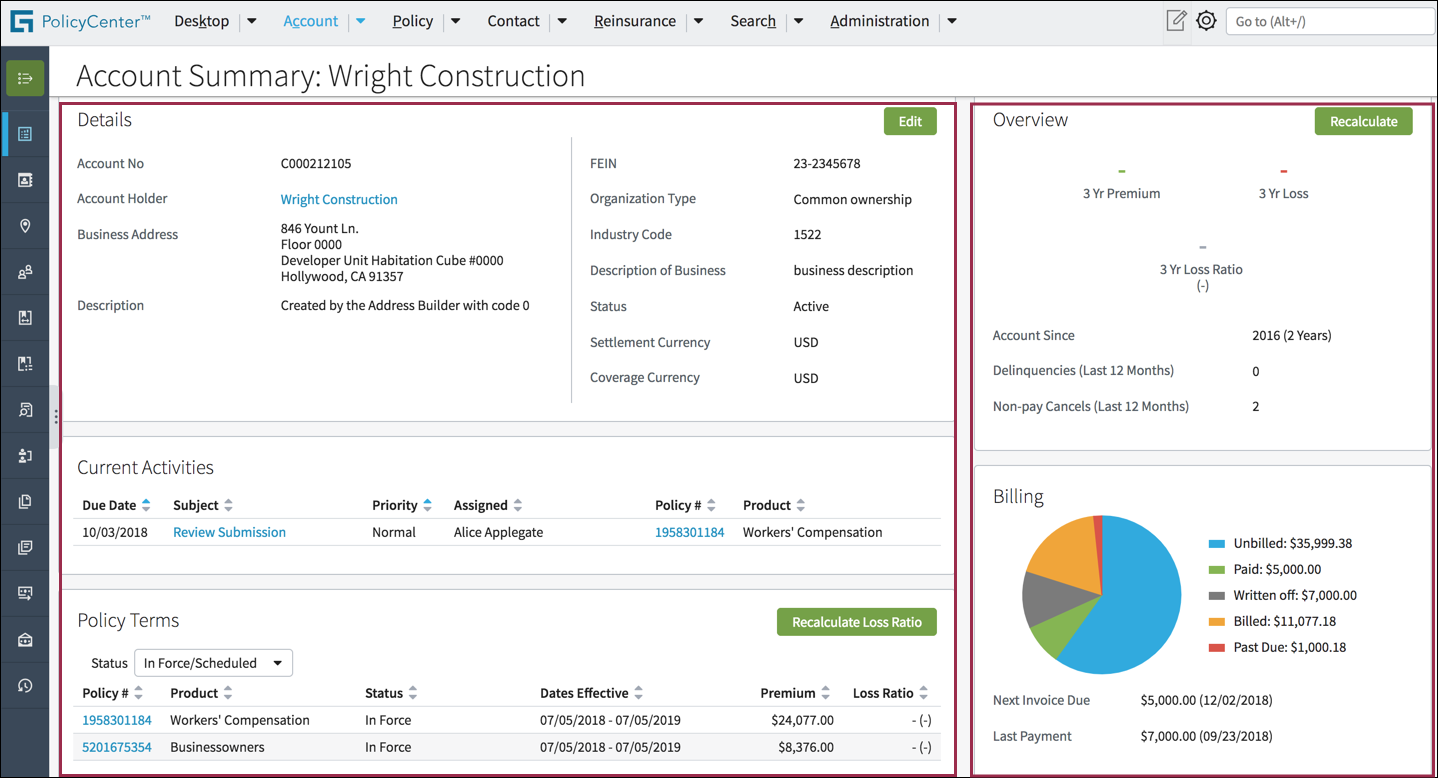
- Account Summary
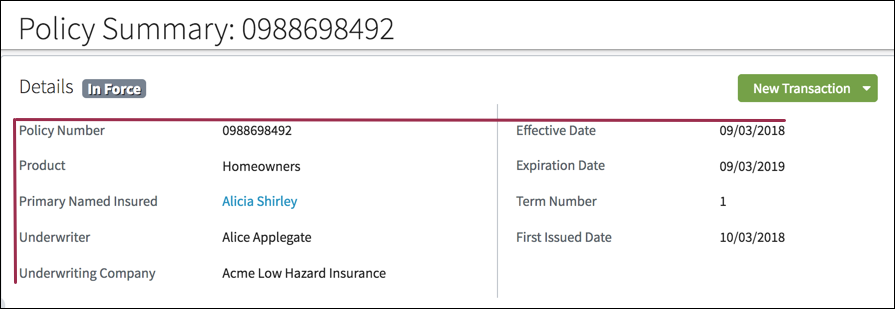
- Policy Summary
As shown in the following screen shot, the dashboard framework includes different types of tiles. Use these tiles to:
PCF elements
Primary function
- Chart Tile
- Column Dashboard Layout
- Dashboard Column
- Detail View Tile
- List View Tile
- Template Tile
- Tile Ref
Secondary function
No elements use this widget as a secondary function.
Best Practices
Summaries
Provide high-level data summaries and include links to details as highlighted in the following screen shot.

Layout
Follow best practices for buttons, check boxes, input columns, links, and text boxes.
The dashboard framework supports a:
- One-column layout that is particularly useful for large tables as shown in
the following screen shot.
- Two-column layout to accommodate the need for a data-rich page with a
combination of summary and detailed information.
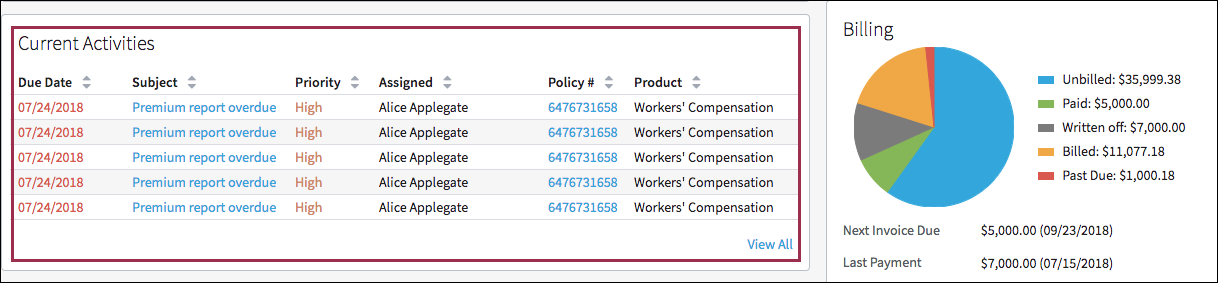
Spacing and alignment
- Use white space and horizontal and vertical dividers (lines) to clearly group content. This delineation makes content easier to scan and absorb.
- Align sections on the same vertical or horizontal planes as illustrated by the red lines in the following screen shot. Proper alignment makes the page easy to scan.
Tables (List View Tiles) in Dashboards
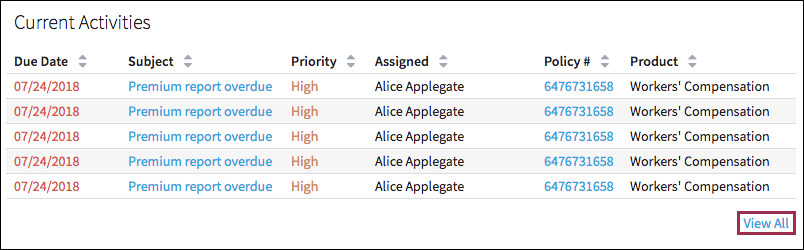
Tables in dashboards are called list view tiles. These tables are placed with in a tile container. In a dashboard a table can display a maximum of five rows and can be reduced to three rows when space is limited.
- When a list view tile has more rows than will fit in the designated space,
use a View All link to take users to the additional content.
- Place tables with three or fewer columns in a narrow tile, especially if the
table contains related but non-crucial information such as
Contacts.
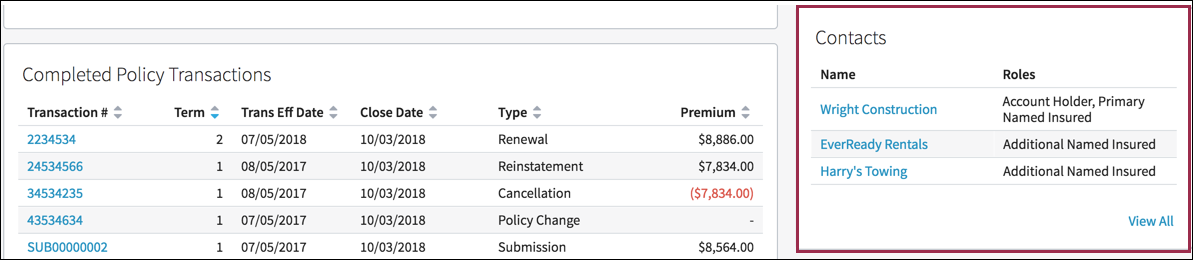
- Place tables with four or more columns in a wide tile.
- Place tables with crucial policy information, such as Current
Activities, in a wide tile.
Charts, Indicators, and Notes
- See best practices for charts.
- Indicators include labels and progress loader bars. For more information
about:
- Labels, see best practices for labels.
- Progress indicators, see best practices for progress loader bars.
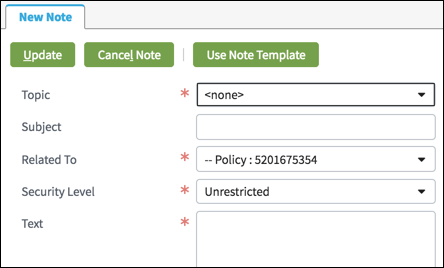
- The New Note feature is available from the Actions menu
and also directly within the dashboard as shown in the following screenshot.
Follow best practices for buttons, check boxes, input columns, drop-down lists, links, radio buttons, tabs, and text boxes.
 |
 |