Create a GX model
Procedure
- In Studio, navigate in the resource tree to the location .
- Within the class tree, navigate to the package in which you want to store your XML model, just like you would for creating a new Gosu class. If you need to create a top-level package, right-click on the folder icon for gsrc, and select New Package.
- Right-click on the desired package. From the contextual menu, choose to open the GX Model window.
- Select either the Search by Name or Project tab to list the available classes and data types to map.
-
In the Search field, enter the name of the type to
export in XML format. For example, to map and export an
Address entity, type
Address. The dialog box lists the types that match any partial name you type. Select the desired class from the list.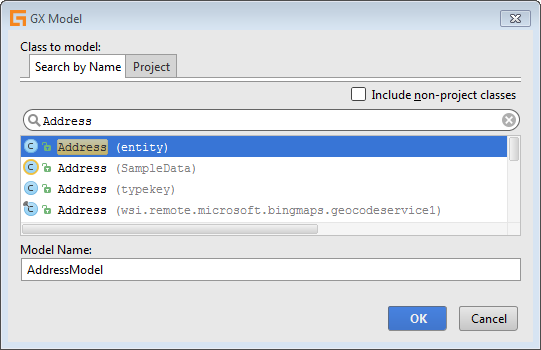
-
Enter the desired GX model name in the Model Name field. The default
name of the GX model is the name of the selected class followed by the word
Model. For example, if the selected class isAddress, the model name isAddressModel.The GX model name defines the package hierarchy for the model, so choose its name carefully. For example, if an XML model called
AddressModelis created in themycompanypackage, the fully qualified type for the Address entity in the GX model ismycompany.addressmodel.Address. -
Click OK to open the GX model editor.
-
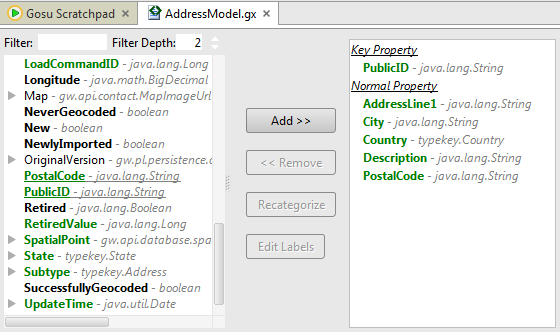
To map a property to the GX model, select the property
in the editor’s left pane.
To navigate through a property’s lower levels, click the arrow icon in front of the property to open the hierarchy below it. Continue navigating to lower levels until the desired property is located.
Alternatively, locate the desired property by entering its name in the Filter field. Studio searches for the property in lower levels to the depth specified in the Filter Depth field. For example, to find the
myPropproperty in the hierarchymyClass.propertyOne.subProperty.myProp, set the Filter Depth to three to search three levels below the parentmyClass. - With a property selected in the left pane, click Add>> to show the show the Mapping Type popup.
- In the Mapping Type popup, select the property’s mapping type, either Key Property or Normal Property. The selected property is added to the editor’s right pane.
- Continue adding properties to the GX model until the model is complete.
Results
The XML definition of the GX model can be viewed by selecting the Text tab at the bottom of the editor.
In the editor’s lower pane, select the Schema tab to view the XSD schema that is automatically generated for the GX model. Select the pane’s Sample XML tab to view a sample XML file that conforms to the XSD schema.